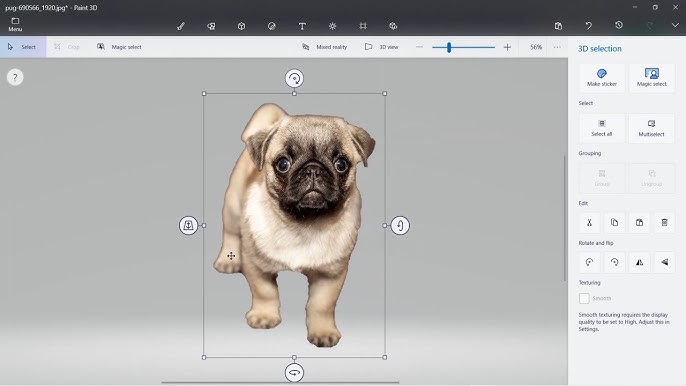
Microsoft Paint is a simple, free tool that comes pre-installed on Windows computers. While it’s not as advanced as Photoshop or AI-powered editors, you can still remove a background in Paint with a little patience and the right technique. If you’ve been wondering, “How do I remove the background in Paint?”, this guide will walk you through the process step-by-step. emoji kitchen

Can You Remove Backgrounds in Paint?
Yes, you can remove backgrounds in Microsoft Paint, but it’s a manual process. Unlike tools like remove.bg or Canva, Paint doesn’t have an automatic background removal feature. Instead, you’ll use the Free-Form Select and Transparent Selection tools to get the job done. It works best for images with solid or simple backgrounds.
Let’s dive into how to do it!
Step-by-Step: How to Remove the Background in Paint
Follow these steps to remove a background in Paint using Windows (works in Paint versions as of March 2025):
Step 1: Open Your Image in Paint
- Launch Microsoft Paint (search for “Paint” in the Windows Start menu).
- Click File > Open and select the image you want to edit.
Step 2: Choose the Free-Form Select Tool
- In the toolbar at the top, click the Select dropdown (it looks like a rectangle with a dotted outline).
- Choose Free-Form Select. This lets you draw around the object you want to keep, excluding the background.
Step 3: Outline Your Subject
- Carefully trace around the object or person you want to isolate. Click and hold the left mouse button while drawing, then release when you’ve completed the outline.
- Tip: Zoom in (using the magnifying glass tool) for more precision, especially around edges.
Step 4: Cut or Copy the Selection
- Once your subject is outlined, right-click inside the selection and choose Cut (Ctrl+X) or Copy (Ctrl+C).
- If you cut it, the selected area will disappear, leaving a white patch. If you copy it, the original image stays intact.
Step 5: Create a New File with a Transparent Background
- Open a new Paint window (File > New).
- Paste your selection (Ctrl+V).
- Go to the Select dropdown again and enable Transparent Selection (check the box). This ensures the background stays transparent instead of turning white.
Step 6: Save Your Image
- Click File > Save As and choose PNG format. PNG supports transparency, unlike JPEG.
- Name your file and save it. You now have an image with the background removed!
Tips for Better Results in Paint
- Simple Backgrounds Work Best: Solid colors (like white or green) are easier to remove than complex patterns.
- Use the Eraser Tool: If Free-Form Select isn’t precise enough, use the eraser to manually clean up leftover background bits.
- Practice Patience: Paint isn’t built for intricate edits, so take your time with detailed images.
Limitations of Removing Backgrounds in Paint
While Paint is free and accessible, it has drawbacks:
- No AI or one-click removal.
- Struggles with complex images (e.g., hair or gradients).
- Time-consuming compared to modern tools.
If Paint feels too basic, consider alternatives like GIMP (free) or Photoshop (paid) for more advanced editing.
Why Use Paint for Background Removal?
Paint is a great option if:
- You don’t want to download extra software.
- You’re working on a simple project (e.g., a school assignment or quick meme).
- You’re on a budget and need a free solution.
Conclusion
So, how do I remove the background in Paint? It’s all about using the Free-Form Select tool, enabling Transparent Selection, and saving as a PNG. While it’s not the fastest or most polished method, it gets the job done for basic edits. Give it a try next time you need a quick fix—open Paint and start editing!